![]()
![]()
![]()
![]()
|
|
|
|
|
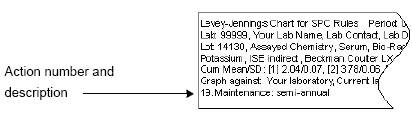
Note: The options selected for a Levey-Jennings Chart also apply to the Multi-LJ Chart.
The X-axis shows a vertical column for each day. Each data point collected during that day appears in this column so the individual data points appear to be stacked.
Selecting the Include point representing mean of data points for the day check box adds a large point representing the daily mean and shows the individual data points as smaller points.
Note: Selecting the Sequence option makes the Include point representing mean of data points for the day check box unavailable.
Tip: The different symbols help visually distinguish the levels when printing in black and white. An arrow represents data points that are off the scale, regardless of the level symbol selected.
Tip: The different colors help visually distinguish the levels when viewing the chart on a color monitor.
Important: UnityWeb™ shows data points violating a statistical process control (SPC) rule with a status of "warning" in orange and data points violating a rule with a status of "reject" in red. Therefore, Bio‑Rad recommends not using orange or red for fill colors as it could make these data points difficult to see.
Note: The line connects the mean of the points for the day and only appears if the Include point representing mean of data points for the day check box is selected.
Note: Click Default to return to the default settings.
In This Section |